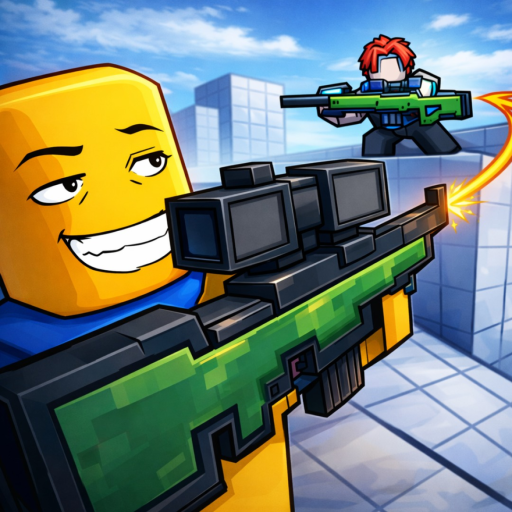
Round start
Read the opening
Choose a sight line with an exit and place the crosshair where a target is likely to appear.
Map names and layouts were not published in the current data set, but every round still asks you to manage sight lines, opening shots, follow-up pressure, and the outcome of each risky peek.
Choose a sight line with an exit and place the crosshair where a target is likely to appear.
Move, change timing, or use the secondary instead of repeating the same exposed sniper peek.
After a death, identify the earliest positioning or weapon-role decision you can change next round.